This Old House Part 31 of 63453 – Plaster Repair
When I purchased the house on Grayland the walls were cracked all over the place.. Most of it was from normal settling of a structure (My house is 87 years old as of 2010).. The first two rooms I remodeled (kitchen & dining room) I had skim coated and it brought the walls back to smooth crack-free surfaces.. Since I opted to do the rest of the house at once instead of living in a construction zone multiple times again I had the all the remaining walls in the house skim coated.. The main focus of “phase II” was the bathroom it was the only exception on the skim coating.. The bathroom had been drywalled over top the original plaster and most of it was ruined so it made more sense to take that room all the way down to studs and start fresh with drywall in that once instance.
The process took 79 days to complete.. I was originally quoted 19 total days, but my contractor seemed to take his time.. He is the same guy who did the kitchen and dining room, which he completed within a reasonable time frame. I don’t know exactly what caused him to take so long, but going 400% over an estimated time is unacceptable. I won’t get into this too much as it’s not relevant to the blog but I didn’t pay full price for the job and his delay pushed my completion date back at least 2 months if not more.
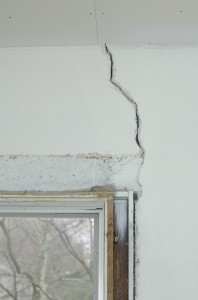
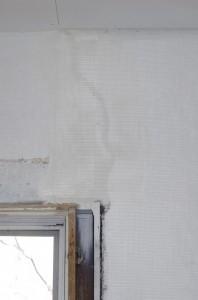
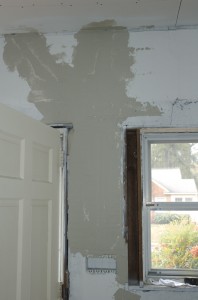
The process for repairing the walls is pretty interesting. First all the loose plaster is cracked away. The the walls are painted with a sealing primer to ensure adhesion of the new mud to the old surface. Once this is done all large holes are patched with mud. Then a fiber mesh is applied to all of the walls and is filled with mud. This mesh is supposed to keep the walls from cracking again in the future as it adds strength to the walls much like re-bar adds strength to concrete. Once all of the fiber meshing is covered with mud the walls are sanded smooth and the walls are ready for paint/primer.
Here are some photos of the process with one of the cracks near a window frame.
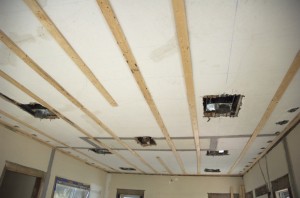
As far as the ceilings are concerned it’s far too much effort to skim coat those, so furring strips (1×3 lumber strips) are applied to the ceiling nailed into the joists and then the ceilings are drywalled.. This means the ceiling is dropped approximately 1 1/4 inches but it’s not a noticeable reduction as it takes the ceiling from 9 feet to 8 feet 10 3/4 inches..
Here are a few photos of the ceilings being furred and then drywalled..
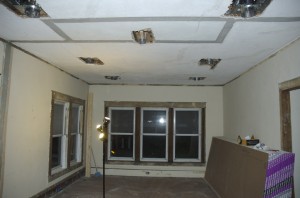
Ceiling in the living room. Note the recessed lights and electrical box are lowered from the current ceiling.
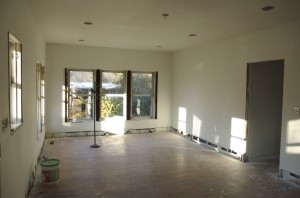
Living room with new slightly lower drywall ceiling and lighting fixtures flush with the new ceiling.
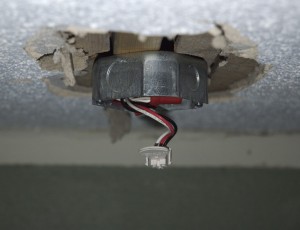
I had to have all of the wiring on the walls and ceilings completed before I got the walls done..You can see from the photos above that all the ceiling electrical boxes needed to be lowered 1 1/4″.. Here is a shot of one of the smoke detector boxes lowered before the new ceiling is installed.
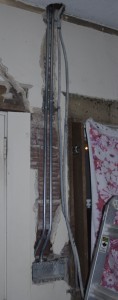
The biggest hassle electrically was the switches by the front door.. Because my exterior walls are solid masonry (i.e. not framed lumber with a wall on either side) I had to install conduit into a crevice in the wall and have that area filled over.. I pulled the old wiring out and ran new conduit through these same holes so that new wire could be pulled in for 3 way switches and one additional switch.
