This Old House Part 35 of 63453 – Window Restoration
Restoring the window sashes is a multi-step process I have not likely covered so I thought I would walk everyone through the process of restoring the window sashes..
There are many reasons to restore old window sashes than replace them with replacement windows. In many cases the overall insulation savings in replacing all the windows takes many years (20+) to pay for itself, where as with original windows you can restore them and install storm windows on the outside and the entire process can pay for itself in a year or two. Then there is the historic restoration angle; You are cutting down on landfill waste, reusing, and using the original windows is almost always going to be more aesthetically pleasing.
Step 1 – Remove window sashes from window frames.
I won’t cover this in great detail, mostly since I don’t have good photos of removing a window sash, and you can easily see how it’s done on the internet with a quick search. In general you remove the weight pockets on either side, remove all stops, and then cut the cords and remove the sashes. Be sure when you remove your sashes that you label which window they came from in case they are not uniform in size. All mine seem to be uniform, but I didn’t want to take that chance.
Step 2 – Remove all old paint (I paid to have this done)
In my case the windows were covered with multiple layers of paint that were cracked, chipping, and overall not a decent surface. I also opted to stain my sashes so the only way to get them down to bare wood again was to send them off to be stripped.. If you were really daring you could do the stripping yourself, but I found a guy near me that stripped my window sashes pretty cheap and brought them back ready for re-glazing.
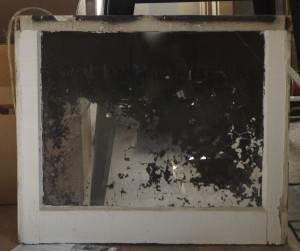
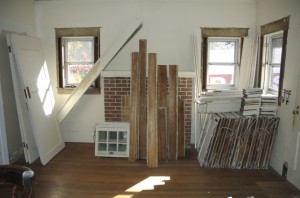
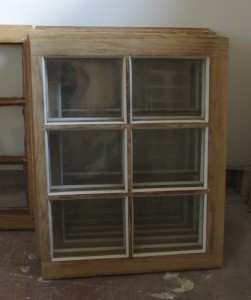
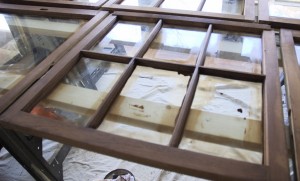
What the original sashes looked like before stripping. (Note the black paint wasn't on the other sashes)
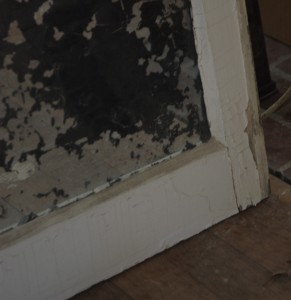
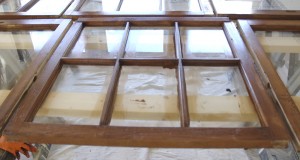
Detail of the condition of the paint on the sashes before stripping. You can see the many many layers of cracking paint.
Step 3 – Replace glazing (I paid to have this done)
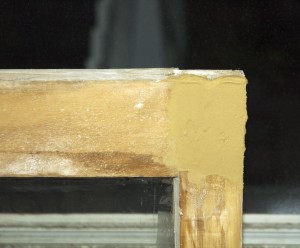
Glazing is the sorta putty like stuff that holds the panes of glass in place in the window sash. It needs to be replaced from time to time as the sun dries it out, and in my case stripping also ravages the glazing. I found a guy to re-do this for me as well since it is a tedious process that is similar to artistry. There are plenty of instructions online on how to complete this process if you want to do it yourself.
Step 4 – Patch Holes / Defects in wood
Some of my sashes had small rotted areas. If you are painting the sash I would use an epoxy like filler, but I wanted to stain mine so I got some stain-able wood filler. This is just applied to the holes with a putty knife, allowed to dry and then sanded.
Step 5 – Sand Sashes
This step is pretty self explanatory. All wood filler needs to be removed and the sash needs to be smooth for whatever coating you are going to put on the window. I used a 220 grit sanding sponge on the 26 window sashes in my house I restored. It only took a few minutes.
Step 6 – Protect Glazing
The glazing should not directly be exposed to the outside elements, and since I was staining my windows I needed to paint the glazing separately from the wood on the sashes. I just went to Lowe’s and found a brown paint that was similar to the color of the stain I was using and tediously painted all the glazing. If you are painting the sashes you can omit this step.
Step 7 – Stain / Paint / Polyurethane Sashes
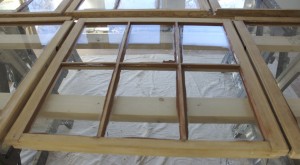
This step doesn’t need much explanation. In my case I stained both side of the sashes, and then applied a single coat of polyurethane. If you are painting you will need to prime and paint the sashes. I opted to only use one coat of poly because I only wanted to make them shiny and protect them from the elements, and not add much thickness to them.
Step 8 – Prepare window frames
The window frames in my house also had many layers of paint. I scrapped, stripped, and sanded them down to a smooth uniform surface. I then used a good primer, and painted them with a white high gloss paint. You can do this step at any point once the sashes are removed; which would highly be recommended. The main goal is to get smooth surface for the window sashes to move up and down. This means you don’t need to worry nearly as much about the tops and bottoms of the frames, but the sides more so. I was able to get most of the paint off with a good sharp paint scraper, and then used a product called “Soy-Gel” sold by Franmar Chemical to remove whatever else remained. After this I sanded the frames by hand with some sanding sponges until they were as smooth as they were going to get. Some frames ended up all the way down to bare wood, others still have some layers of paint, but were still smooth.
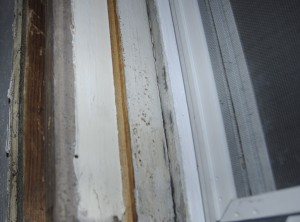
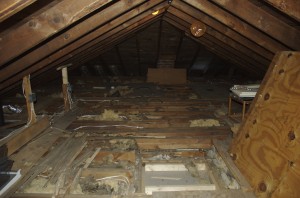
Paint on window sashes before scraping and stripping. You can see the sides of the frames are not smooth at all.
Step 9 – Re-install window sashes
Re-installing the windows is the reverse process of removal.. You re-hang the top sash first, then install the parting bead.. When re-installing the windows I paint the parting bead before I install it in, and then paint any gap that might exist between the parting bead and the existing frame.. I then let the paint dry overnight before installing the bottom sash. As far as the type of knot you use for hanging the weights I was told by the guy that re-glazed my windows to use what I think is called the bowline knot. Also when you re-install the cord you should put a screw where the knot goes into the sash.
